How to Map a Custom Domain to My WordPress Site

It’s more complicated than I thought, but I’m going to lay out all the steps you need in the piece below.
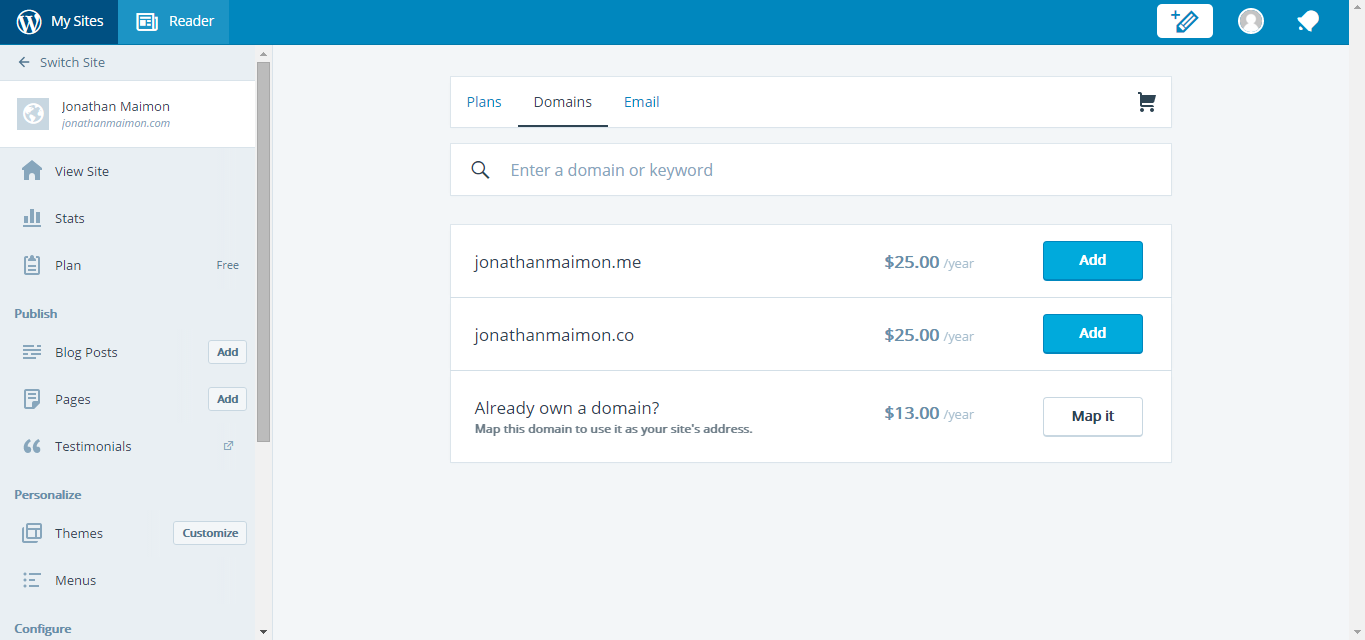
1. For $13/year, add the custom domain you already own to WordPress.
Go to your WordPress dashboard and find Configure -> Domains.
“Add Domain” -> “Already own a domain? Map It.”
You’ll have the opportunity to type in your custom domain. Then you follow the instructions and submit payment to WordPress.
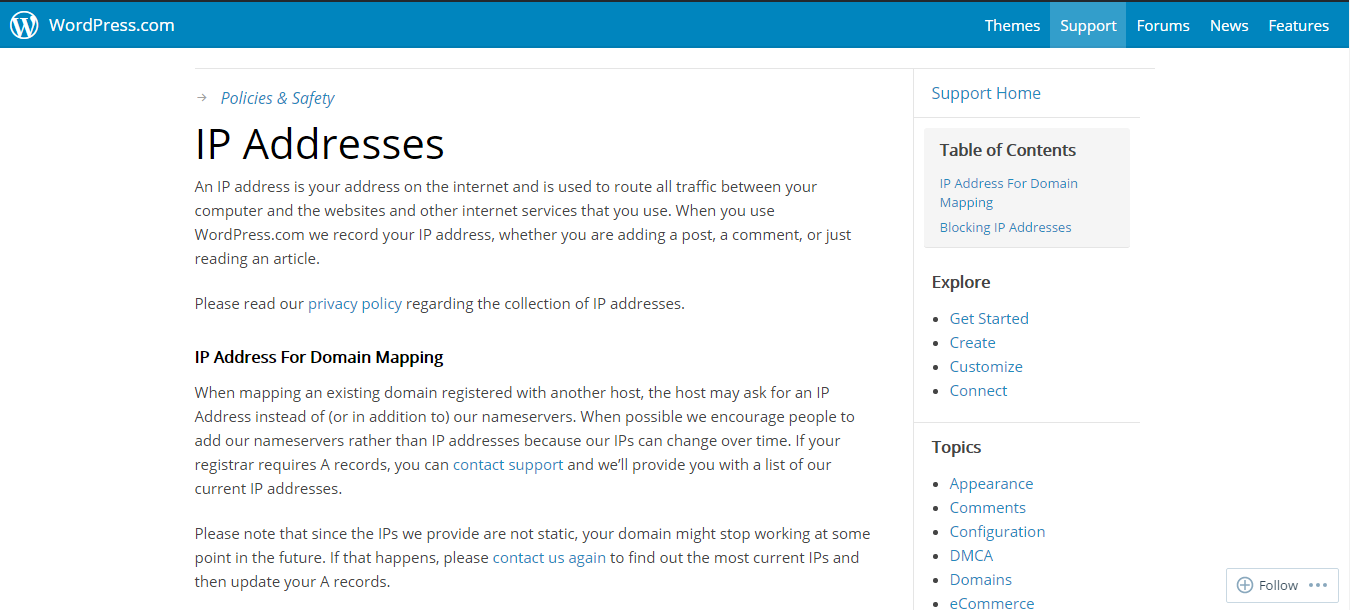
2. Lookup your WordPress site’s IP address.
My wordpress site is www.jonathanmaimon.wordpress.com. I couldn’t find my IP address listed anwyhere on my Dashboard. I’m sure it’s somewhere, I just couldn’t find it.
The WordPress help site was not useful. They told me to contact their customer support team to get this information.
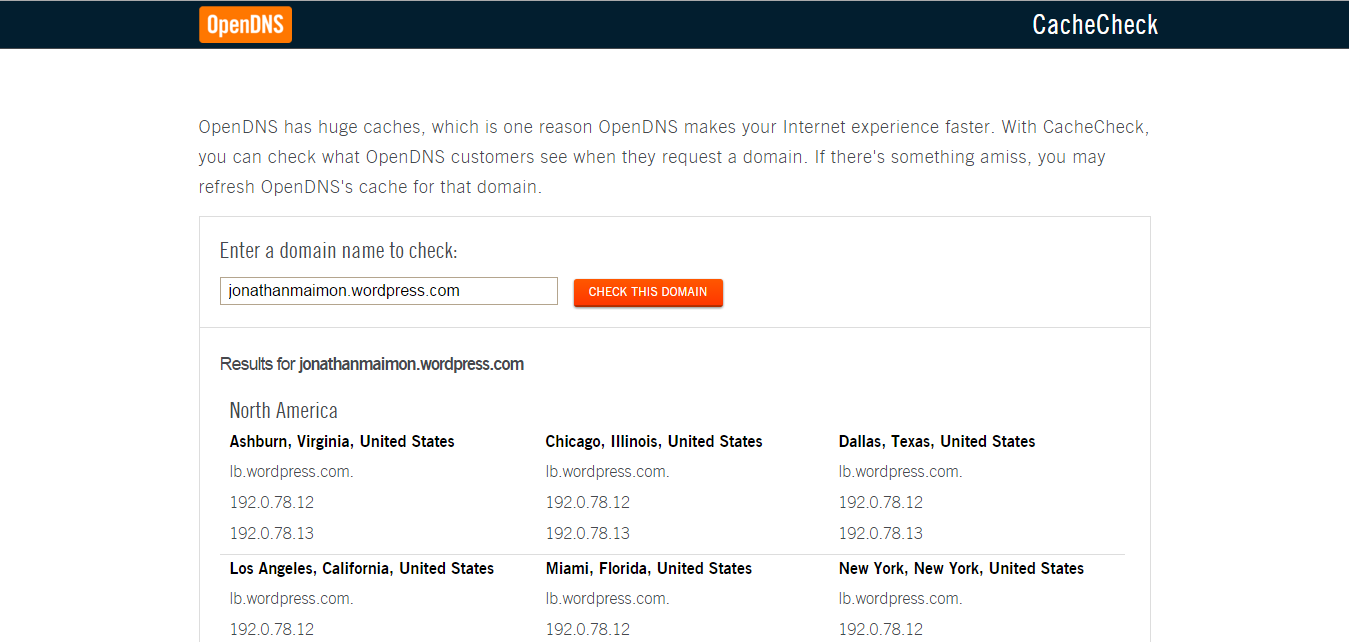
The easy way to look up your wordpress site’s IP address is to go to
www.cachecheck.opendns.com
It will tell you the IP address for any site on the Internet. That’s where I found out my WordPress site’s IP address.
3. Log in to your domain registrar to map your domain to your WordPress site’s IP address.
I’m using Namecheap, but each of the hosting sites will have similar instructions:
- Bluehost
- eNom
- GoDaddy
- HostGator
- Hover
- Namecheap
- Network Solutions
- Register.com
- SiteGround
- Tucows Domains
I did it a little differently, based on my hour-long conversation with their customer support team. I’m going to detail below what I learned from that conversation and what worked for me.
Log in to your registar. Find something that says Advanced DNS.
Domains List -> Manage -> Advanced DNS
Select the option to “Add New Record”

You’ll choose a record type from a dropdown menu. Select “A record”.
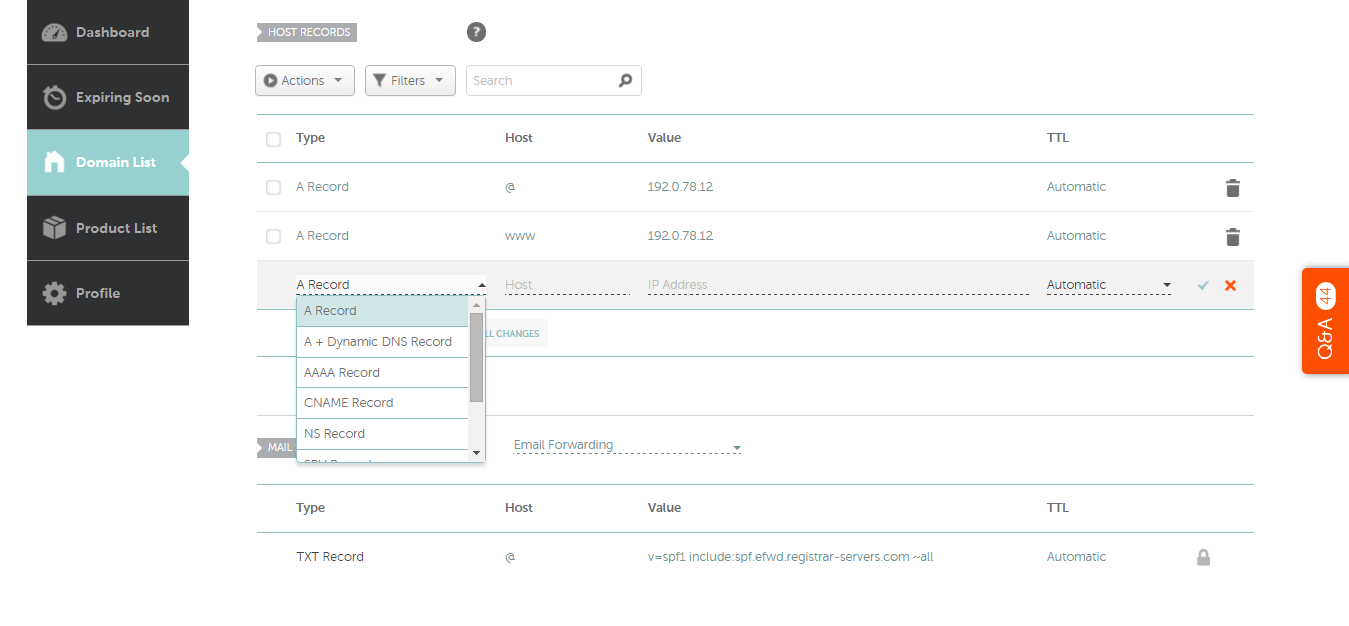
Continue filling in the information. For host, type“@”. For the IP address, type the value you looked up earlier, so for me this was “192.0.78.12”.

Then click “Save All Changes.”
Create two “A records”, one with host “@” and one with host “www”, in order to map your site properly.
Important: Remove ALL other records, the ones already there, otherwise your new mapping might not work properly.
It might take a couple minutes for these changes to go live.
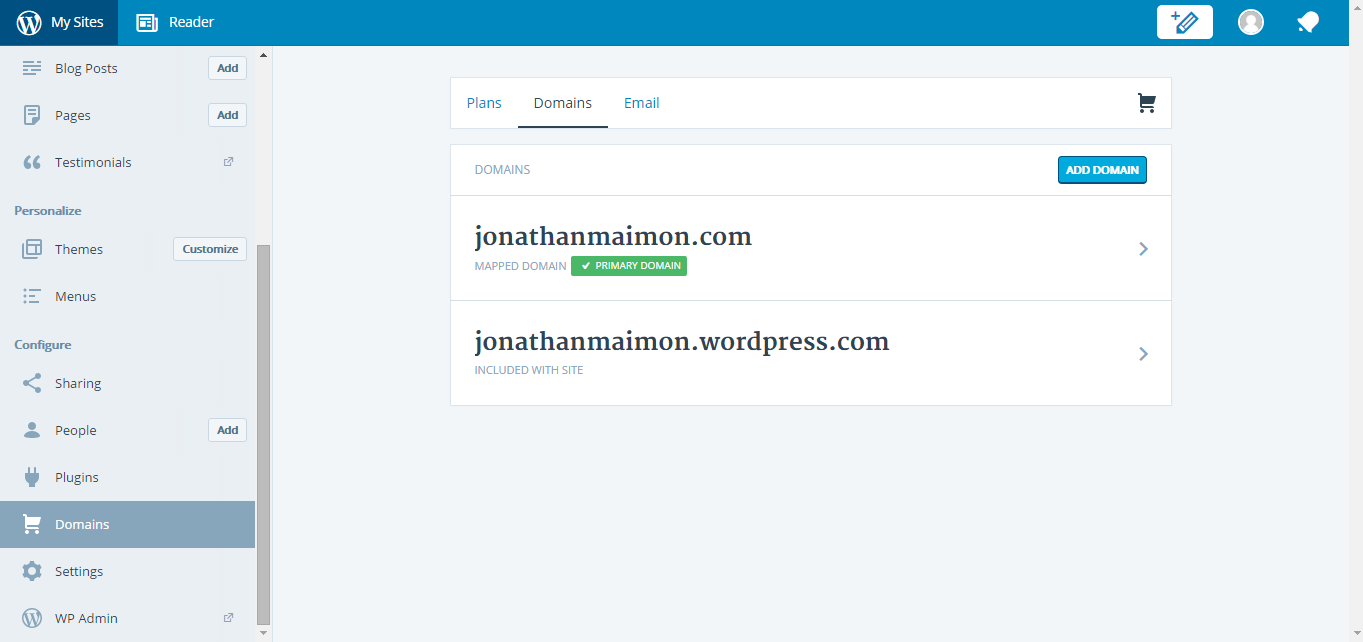
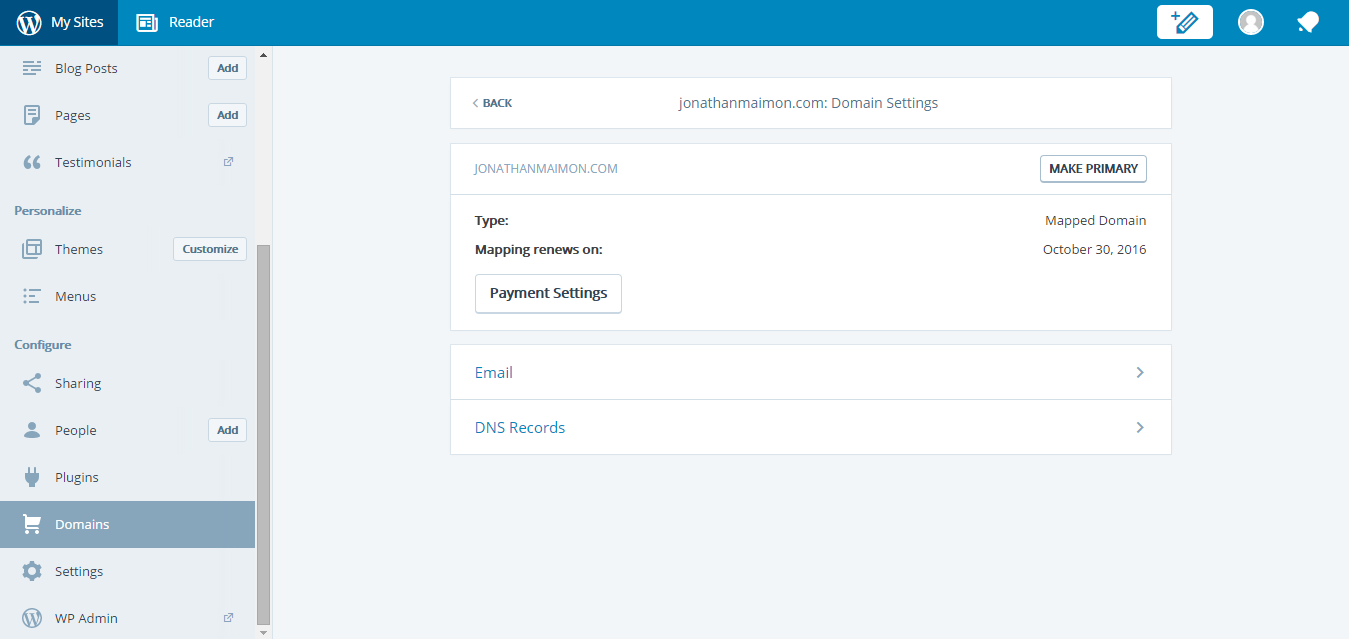
4. Make your custom domain your primary domain on your WordPress site.
Go back to the Domains page on WordPress. You’ll see two domains.
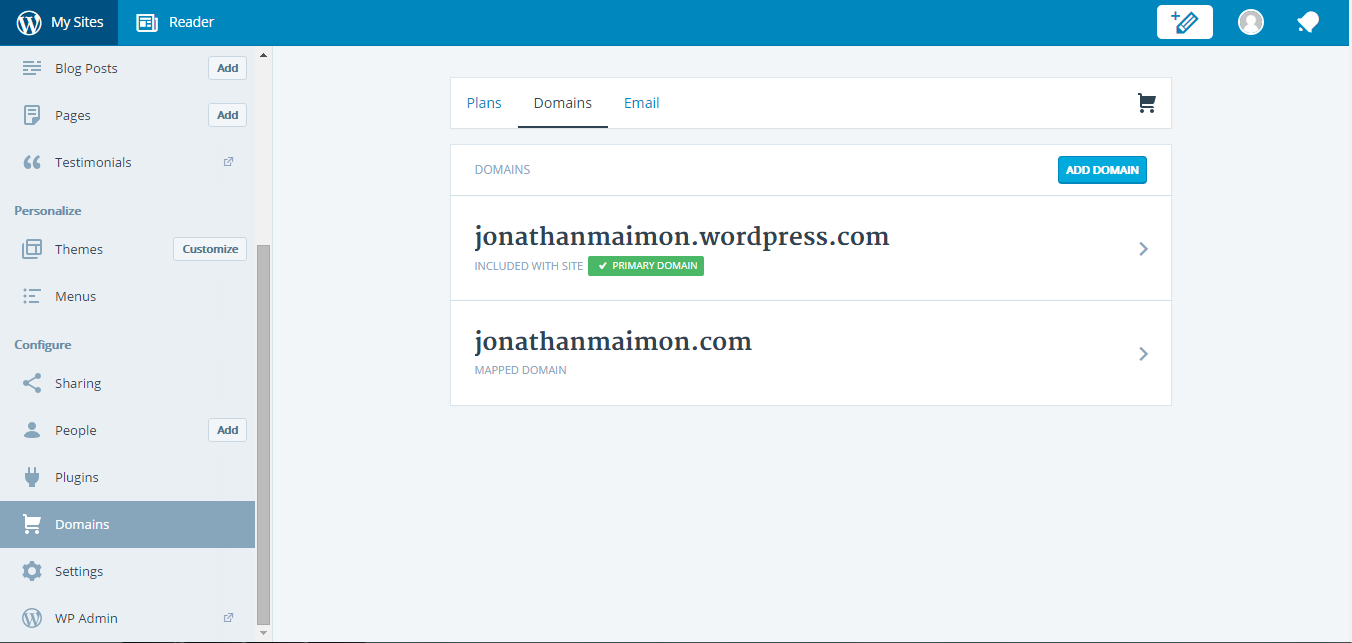
Choose the second domain, the one you just “Mapped ”, and follow the instructions to make it your Primary domain.
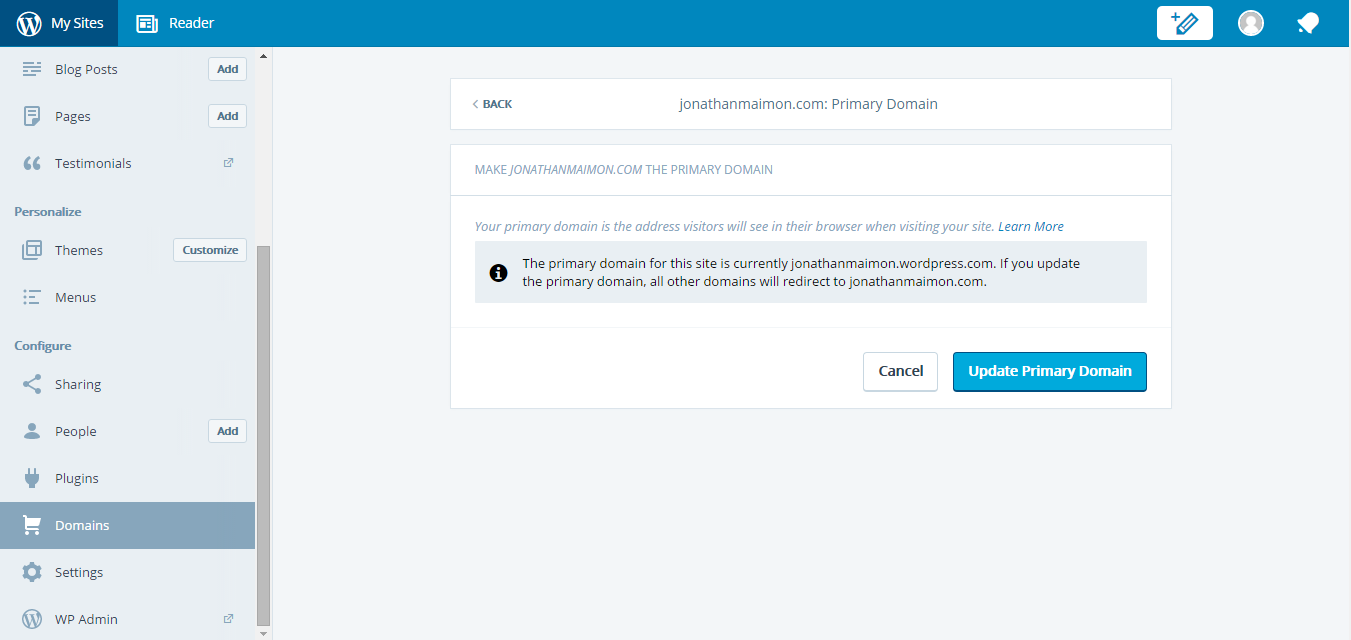

Voila. Now jonathanmaimon.com is now my primary domain.
Test it out. And be sure to leave me a reply if it didn’t work out for you.